Search Results
80 results found with an empty search
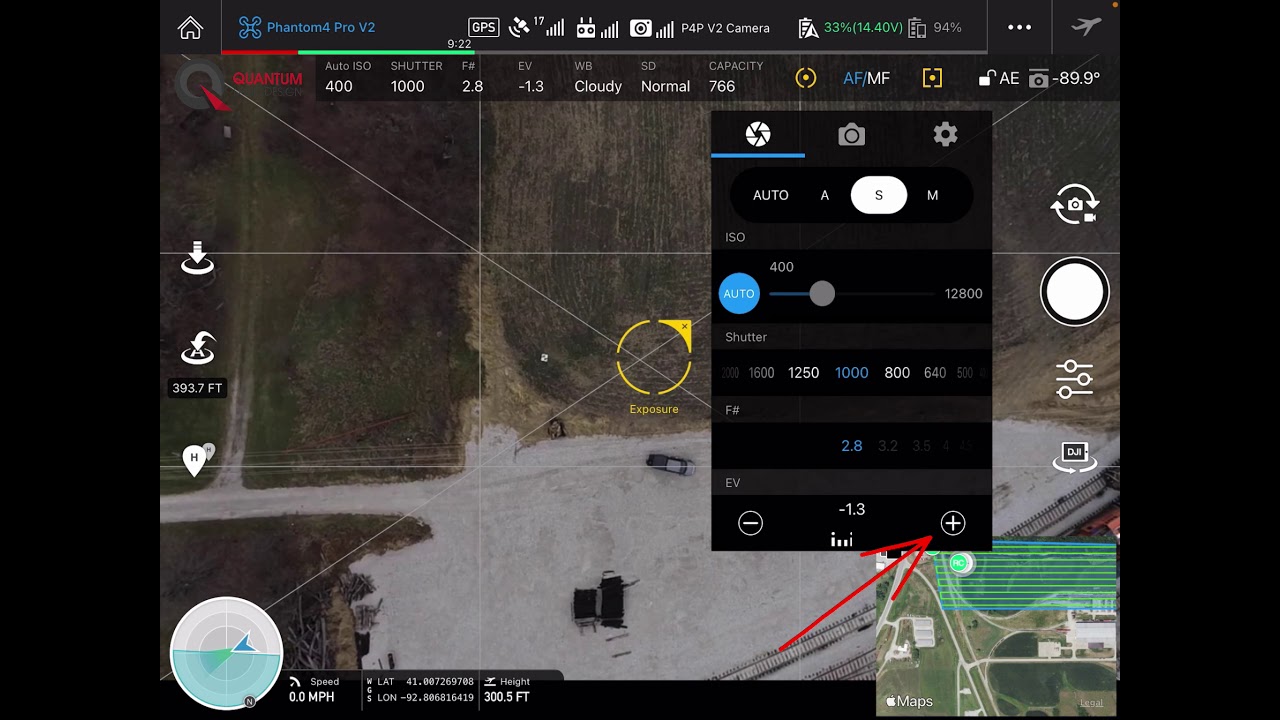
- Low Light Camera Settings
Your Quantum Flight Pack is a great tool, but like any tool, you need to know the right way to use it. Getting the camera settings right in any lighting situation is key to collecting the best data you can. In under a minute, you can learn how to adjust your DJI drone for low light conditions common in the colder months of the year. Have questions? Just email me or call at 515-505-3510 ex 702.
- Drone Topo GCP Location
Good ground control is key to getting the best data you can out of your Quantum Flight Pack. Watch and learn the thought process that went into placing this Ground Control Point. Proper ground control placement will ensure that your drone data lines up with your machine control model. Have questions? Just email me or call at 515-505-3510 ex 702.
- Measure This! Podcast
Our own Zach Pieper was featured in xyHt magazine's latest Measure This! podcast. Gavin Schrock and Zach discuss how drone data and machine control are implemented by real world clients. There are quite a few field proven tips you can apply to your projects right away. Listen up!
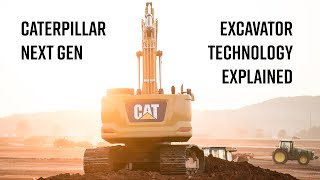
- In Depth - Cat Excavator Next Gen 3D Tech
Caterpillar's Ryan Neal goes in depth on the latest Cat excavator machine control tech. He does a great job explaining the various functions and features built into the new Cat machines. Five minutes well spent if you are ready to dig into the details of the new Earthworks systems.
- Cat Command for Compaction
It's not on the street, yet, but Caterpillar has announced Cat COMMAND for Compaction. It is an operator assisted technology that will help the operator achieve consistent compaction. The best news it that will be available on new B-series compactors AND as a retrofit kit for those already in the field. To learn more here is Caterpillar's press release.
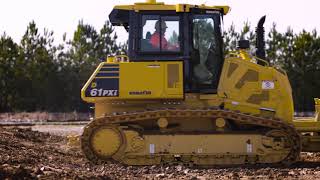
- Komatsu Proactive Dozing Control
Komatsu has added broader capability to their machine control line with Proactive Dozing Control (PDC) on their Smart Construction "i" machines. PDC uses the sensors and GPS system traditionally utilized for machine control to monitor the dozer's position in real time. The system will automatically control blade position and adjust load during any part of the earth moving process, not just at finish grade. For more information take a look at the Equipment World article, read Komatsu's press release or watch the video below.
- Get Ready for ConExpo!
ConExpo is coming up fast. While you are certainly looking forward to the show floor don't forget the educational sessions. Ryan and Zach will be sharing their experience about how contractors put the latest technology to work in their operation. It's a rare experience to hear about what is working for contractors all over the world and, best of all, ask questions. Add our educational session to your ConExpo show planner here. Click on the article below for a sampling of what we will be sharing at the show.
- ConExpo-Con/Agg Radio Podcast
ConExpo 2020 planning mode is well underway here at Quantum Land Design. Believe it or not have quite a few hands up for a week in Las Vegas. The folks at ConExpo put out a monthly podcast you might enjoy. It features experts from the industry discussing a wide range of topics. Everything from technology and safety to regulations. Click here to go to the podcast website for more details. Here is an episode featuring the experts from Case Construction discussing choosing the right machine control system for your company.
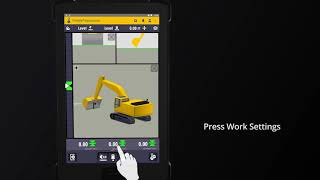
- Trimble Earthworks Tutorials
We hear from more and more Trimble Earthworks users every day. Take a look at Trimble's YouTube channel for tutorials to help you get up and running with your new system. If you need 3D models for your Earthworks systems, just ask, we are hear to help.
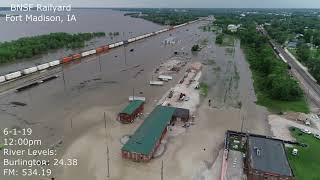
- BNSF Rail Yard Flood
Not everyone realizes the versatility of the Quantum Flight Pack. Here, it documents flooding conditions at the Mississippi River's crest in a railyard.
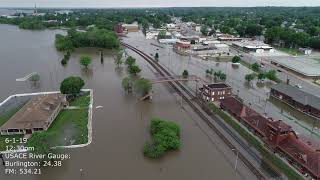
- Mississippi Flood Documentation
The Quantum Flight Pack is not just for topo work.
- Hitachi Grade Guidance
Hitachi now offers a factory-integrated Grade Guidance system. They offer an open architecture for aftermarket kits from Topcon, Trimble and Leica, too. Equipment World Article Hitachi Grade Guidance Website